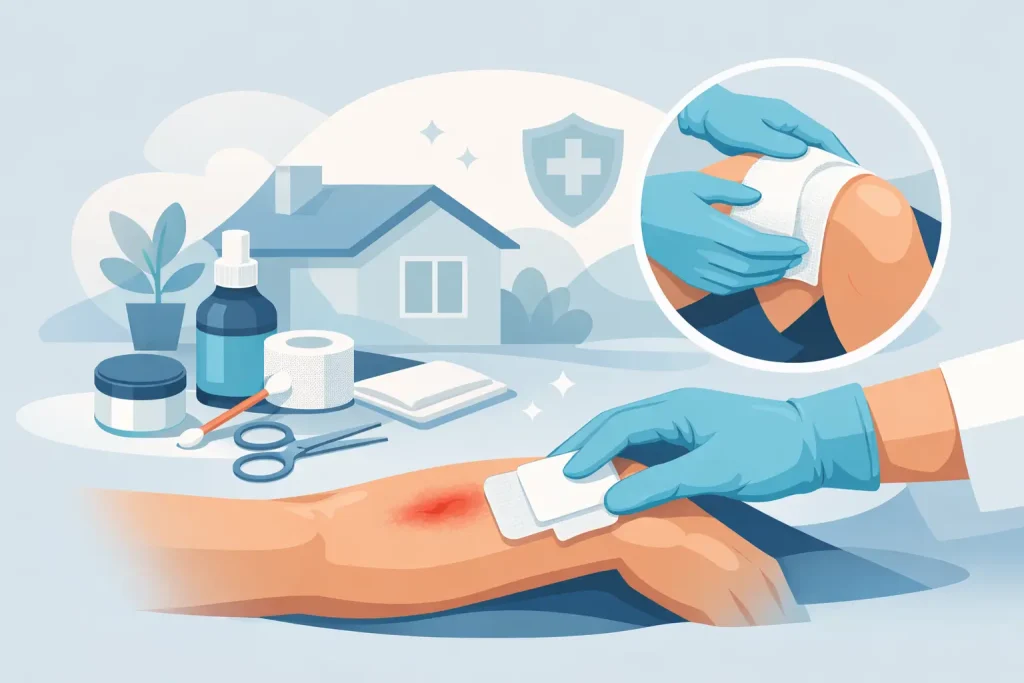
A bandage that is too tight, wet, or left unchanged can slow healing and irritate healthy skin. The right home wound dressing steps help protect a minor wound from dirt and friction while giving you a clear way to spot problems early. But home dressing is not right for every injury. Deep, contaminated, surgical, or slow-healing wounds need clinical assessment and a care plan from a qualified professional.
Start by deciding whether home care is appropriate
A small, clean cut, scrape, or blister may often be managed at home after bleeding is controlled. The wound should be shallow, its edges should come together easily, and the person should otherwise feel well.
Seek urgent medical care for bleeding that does not stop after firm, continuous pressure; a deep puncture; a bite; a burn larger than the person’s palm; an injury with an object embedded in it; or a wound caused by a dirty or rusty item. Facial wounds, wounds with separated edges, and injuries causing numbness or difficulty moving a body part also need prompt assessment.
Be more cautious if the patient has diabetes, poor circulation, nerve damage, kidney disease, immune suppression, or a history of difficult wound healing. In these situations, even a small foot wound can become serious. A clinician should also guide care after surgery, because the dressing type and change schedule may be specific to the procedure.
Gather clean supplies before removing the old dressing
Set up on a clean, well-lit surface where you can work without rushing. Keep children and pets away from the area while the dressing is open. You will usually need clean disposable gloves, sterile gauze or a non-adherent pad, saline or clean running water, medical tape or a bandage, a clean towel, and a disposal bag.
Use the products recommended by the treating clinician whenever possible. A simple dressing is often sufficient for a minor wound, while a surgical wound, ulcer, or wound with drainage may require a particular absorbent or antimicrobial product. Do not substitute products simply because they look similar.
Avoid putting alcohol, hydrogen peroxide, iodine, powders, herbal pastes, or strong antiseptics directly into an open wound unless a clinician has advised it. These can damage healing tissue or cause irritation. Antibiotic ointment may be appropriate for some minor wounds, but it can cause a rash in some people and is not a universal solution.
Home wound dressing steps: a careful routine
1. Wash your hands and prepare the space
Wash your hands with soap and water for at least 20 seconds, including between the fingers and under the nails. Dry them with a clean towel, then put on disposable gloves if available. If gloves are not available, thorough handwashing before and after care is especially important.
Position the patient comfortably. Good lighting matters because it helps you see changes in the wound, the surrounding skin, and the amount or color of drainage.
2. Remove the old dressing gently
Loosen the tape slowly while supporting the surrounding skin with your other hand. If the dressing sticks to the wound, do not pull it away forcefully. Moisten it with saline or clean water and wait for it to release.
Before disposing of it, take a moment to observe it. A small amount of clear or light pink drainage can occur during early healing. Increasing drainage, thick yellow or green fluid, a foul smell, or blood soaking through the dressing should be reported to a clinician.
Place the used dressing and gloves in a disposal bag. Remove gloves if you wore them, wash your hands again, and put on a fresh pair before cleaning or applying a new dressing. This small step reduces the chance of transferring germs from the old bandage to the wound.
3. Check the wound and nearby skin
Look for changes rather than expecting the wound to look perfect immediately. Mild tenderness and slight redness at the edge may improve day by day. Concerning changes include redness that spreads, warmth, swelling, worsening pain, pus, a new bad odor, dark or gray tissue, or red streaks moving away from the wound.
For surgical wounds, check whether the edges remain closed and whether staples, stitches, or adhesive strips are intact. Do not remove stitches, staples, or surgical strips at home unless the surgeon has specifically instructed you to do so.
4. Clean without scrubbing
For many minor wounds, gently rinse with sterile saline or clean running water. Let the water flow over the area and use clean gauze to dab the skin around it dry. Do not scrub the wound bed, pick at scabs, or try to remove material that is firmly attached.
Follow any different instructions provided after a procedure. Some wounds should be kept dry for a period, while others may be cleaned on a set schedule. The safest approach depends on the wound type, location, and treatment plan.
5. Apply the new dressing
If a clinician has advised an ointment, apply only a thin layer with clean hands or a clean applicator. Place a sterile non-adherent pad over the wound and secure it with tape, gauze wrap, or a bandage. The dressing should lie flat and protect the area without pulling the skin or limiting circulation.
On a finger, toe, arm, or leg, check that the area beyond the dressing remains warm, normally colored, and comfortable. Tingling, numbness, swelling, coolness, or a blue color can mean the wrap is too tight. Remove and reapply it more loosely.
6. Clean up and record changes
Discard used supplies safely, remove gloves, and wash your hands once more. If the wound is being monitored over several days, write down the date, drainage amount, pain level, and any changes in redness. A daily photo can also help a clinician assess progress, as long as it is taken in consistent lighting and kept private.
How often should you change a wound dressing?
For a simple clean wound, the dressing is commonly changed once a day or sooner if it becomes wet, dirty, loose, or soaked with drainage. A dressing that remains dry and clean may sometimes stay in place longer, but the correct schedule depends on the wound and product used.
Do not change a surgical dressing more often than instructed just to check it. Repeated removal can disturb the healing surface and irritate the skin. On the other hand, never ignore a saturated dressing or new leakage around it. When instructions are unclear, ask the treating provider rather than guessing.
Support healing between dressing changes
Protect the wound from rubbing, pressure, and repeated stretching. Keep it out of pools, hot tubs, and natural bodies of water until a clinician says it is safe. Showering may be acceptable for many wounds, but soaking is different and can soften skin around the wound.
Healing also depends on the person, not only the bandage. Regular meals with enough protein, adequate fluids, controlled blood sugar, and avoiding smoking can support recovery. Rest and follow-up appointments matter too, particularly after surgery or an injury that affects mobility.
When to call a nurse or doctor at home
Contact a healthcare professional the same day if pain is getting worse, the wound becomes redder or more swollen, drainage increases, the skin feels hot, or the wound is not improving as expected. Fever, chills, confusion, red streaks, rapidly spreading redness, uncontrolled bleeding, or trouble breathing require urgent medical evaluation.
For families in Dubai, Your Choice Healthcare can arrange professional nursing support at home when a wound needs closer observation, prescribed dressing changes, or post-treatment follow-up. DHA-certified clinicians can assess the wound environment, use appropriate dressing techniques, and help families feel confident about the next step.
A clean dressing is a practical part of recovery, but it should never replace timely clinical care. If something about the wound looks or feels wrong, trust that concern and arrange a professional assessment early.